Kodi Beginners: How to Install YouTube Addon
 YouTube has the world’s largest video archive. In Kodi, it is at the top of the list of kodi add-ons that need to be installed. YouTube add-on is necessary for movie trailers, custom channels. Almost all video addons use that in Kodi background. In this tutorial, we show how to install YouTube add-on to Kodi.
This tutorial created on windows system and Kodi 17 Krypton. It should work on similar systems. If you have any problem feel free to leave a comment. We’ll be glad to assist you.
YouTube Kodi Setup and Installation Guide
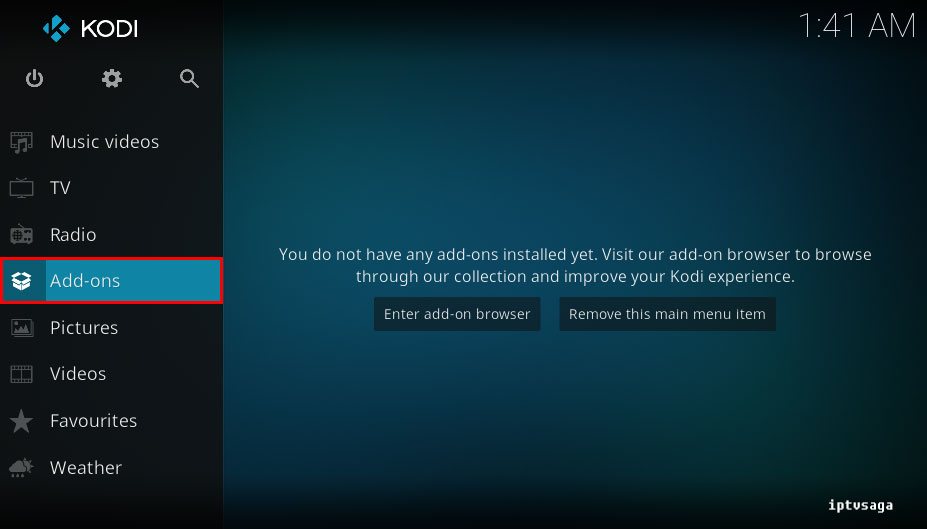
1. Open KODI
2. Add-ons
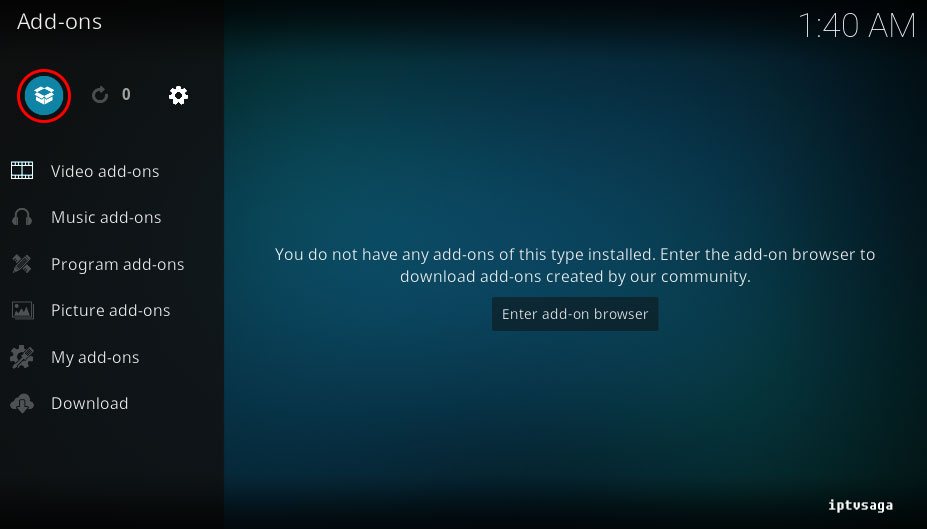
3. Enter the add-on browser (Icon Box)
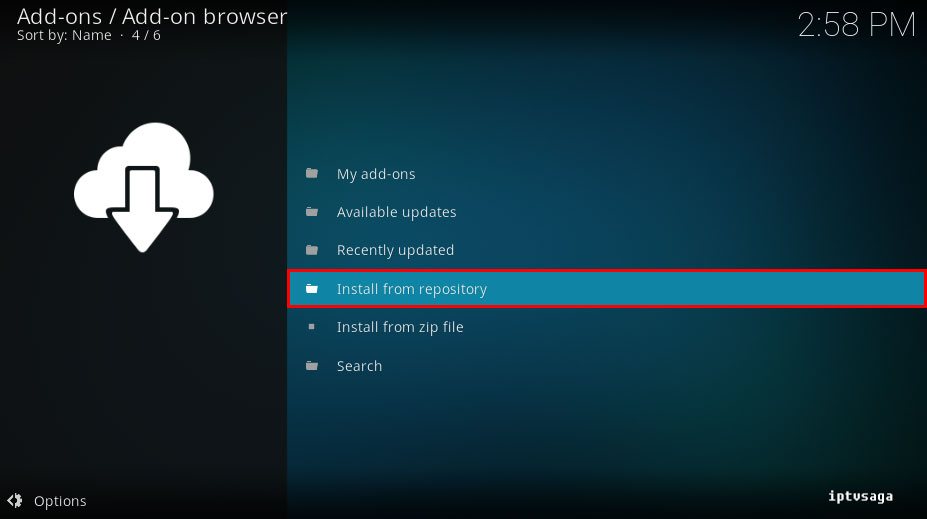
4. Install from repository
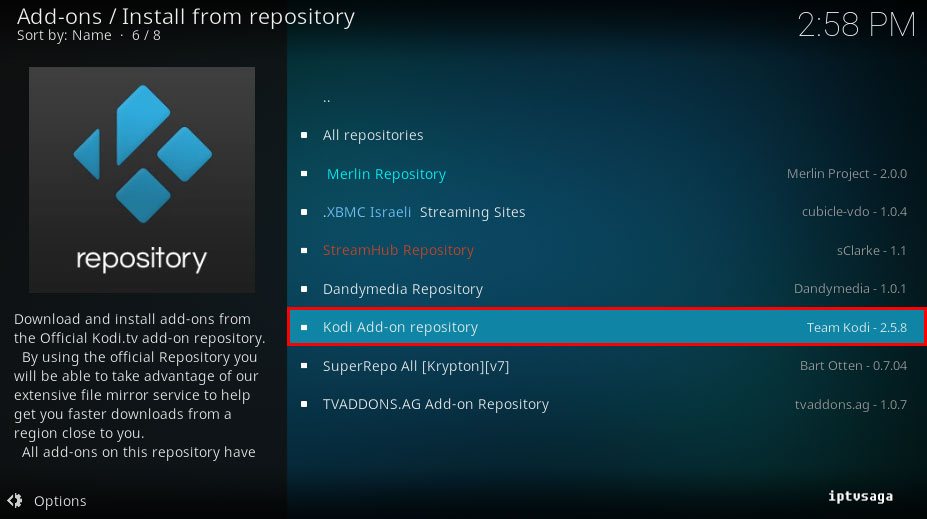
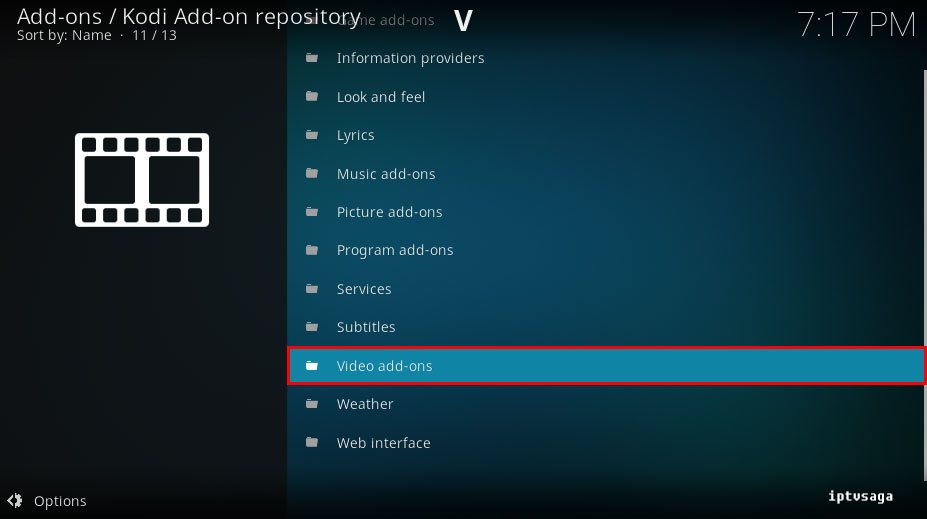
5. Select Kodi Add-on Repository
6. Enter Video add-ons
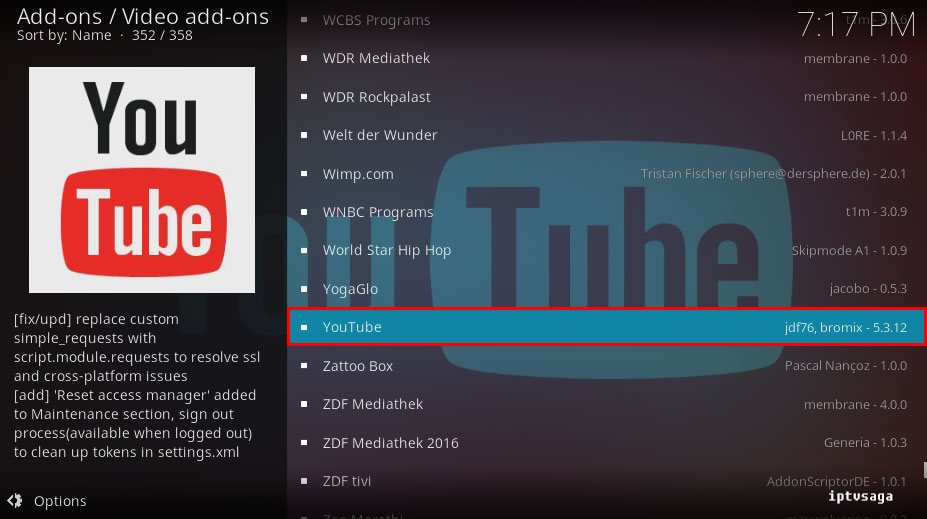
7. YouTube
8. Install
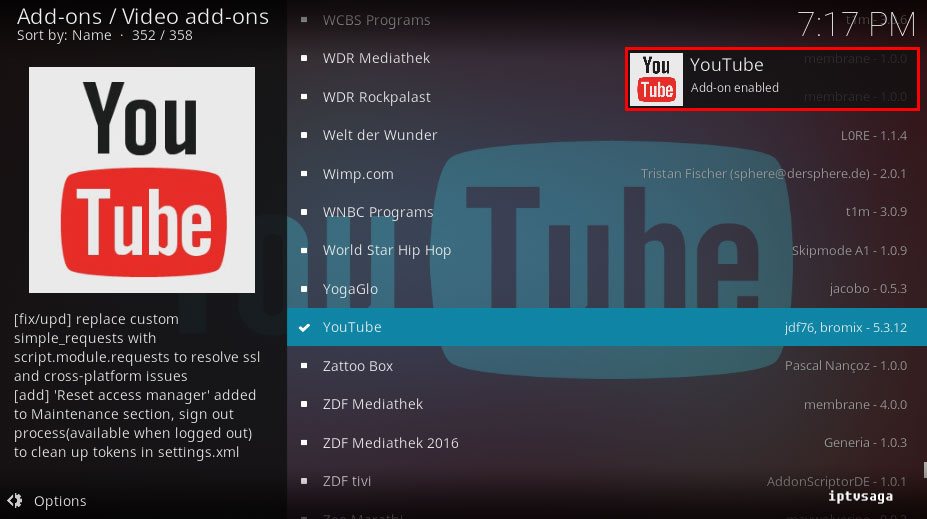
9. We should see the notification: YouTube Add-on Enabled
Now, YouTube Add-on has been installed.
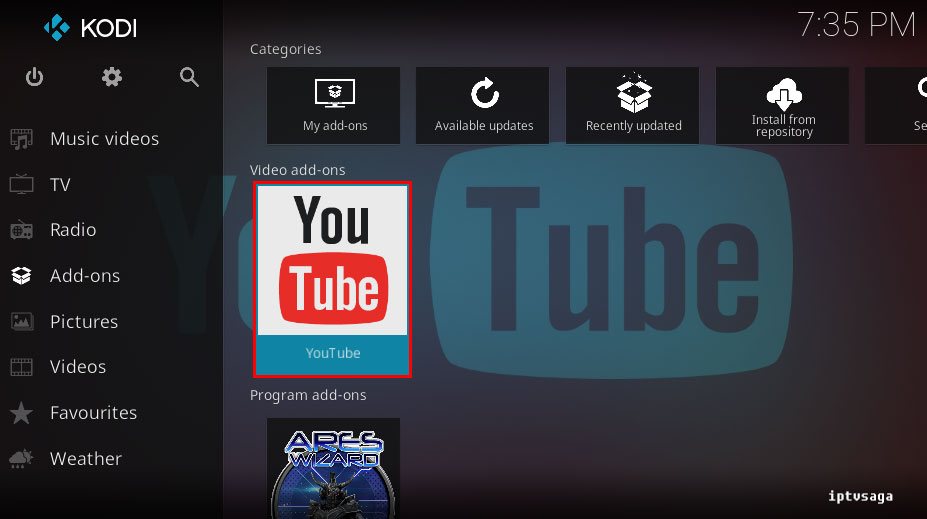
10. Back to Add-ons menu open YouTube add-on
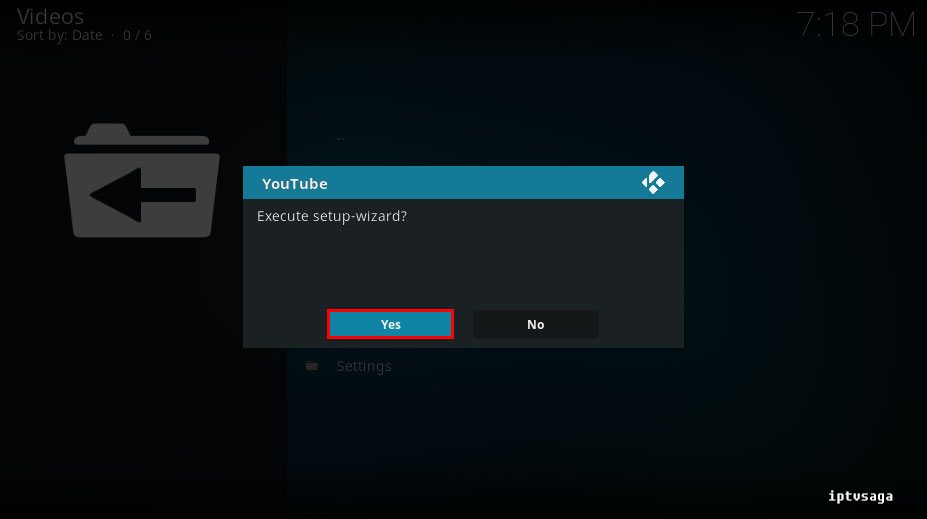
11. We should see the notification: Execute setup-wizard?
Select Yes
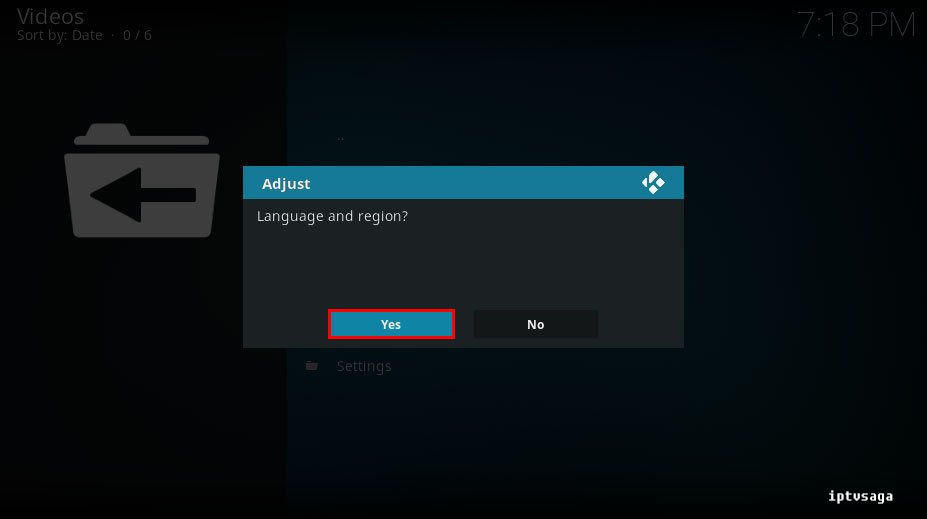
12. We should see the notification: Language and region?
Select Yes
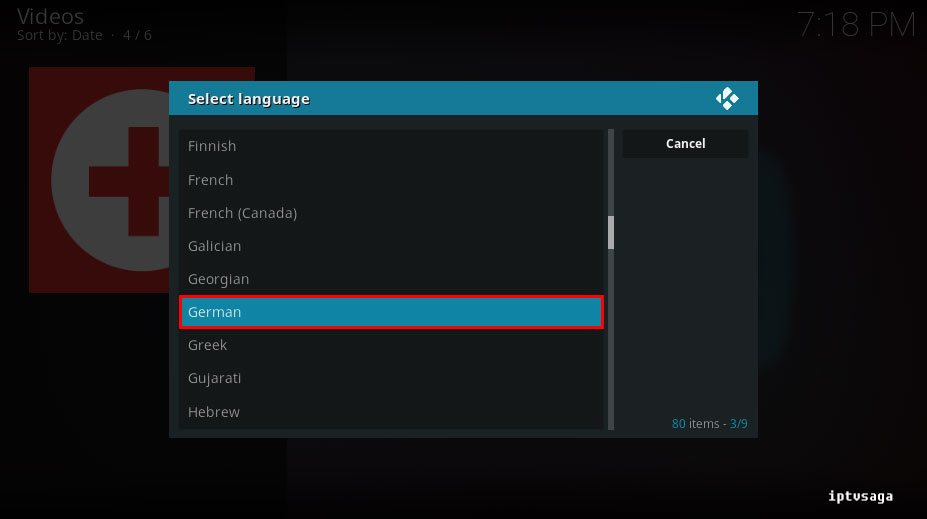
13. Select language
We chose german for example.
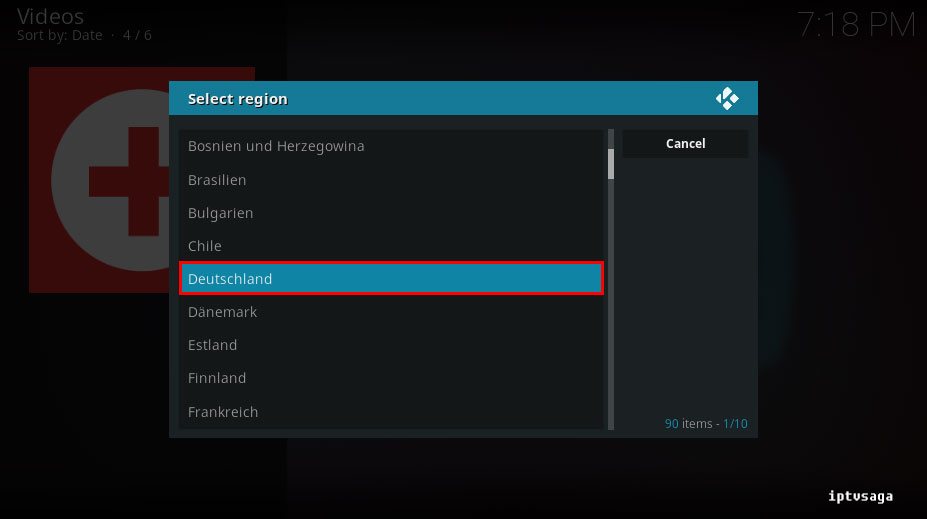
14. Select region
We chose Deutschland for example.
15. Now, YouTube addon has been successfully installed.
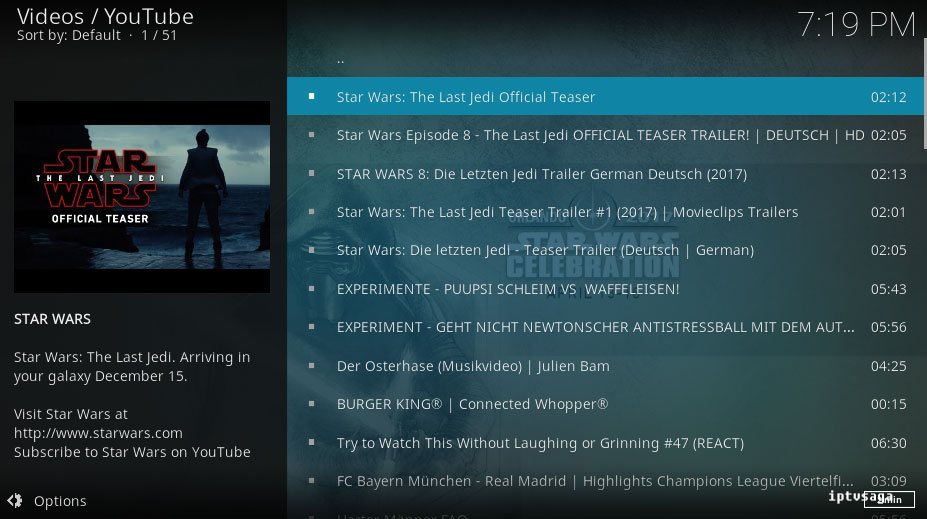
Sample screen:
How to Change Video Quality of YouTube on Kodi?
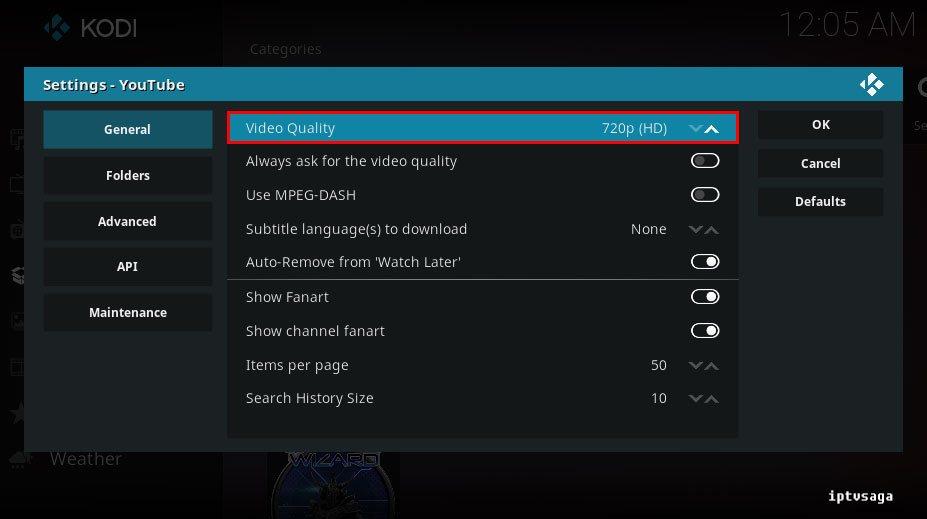
YouTube add-on plays videos with 720p resolution by default. You can change the video resolution in the add-on settings.
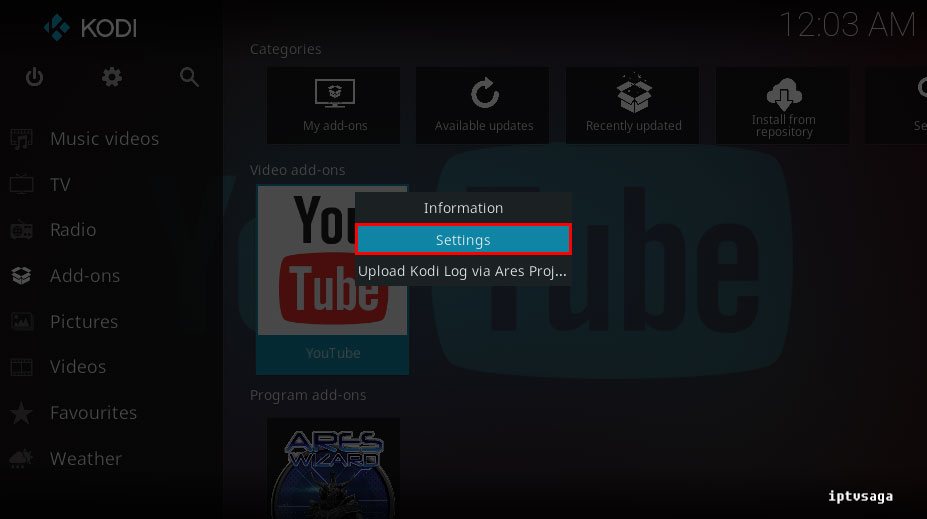
1. Enter YouTube addon settings
2. In General tab, set Video Quality
How to Connect YouTube Account to Kodi?
1. Open YouTube Add-on
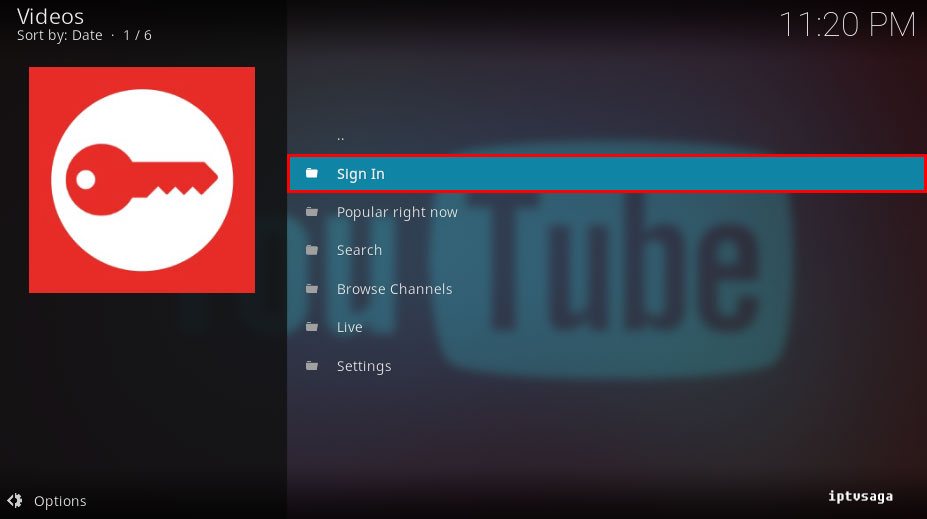
2. Sign In
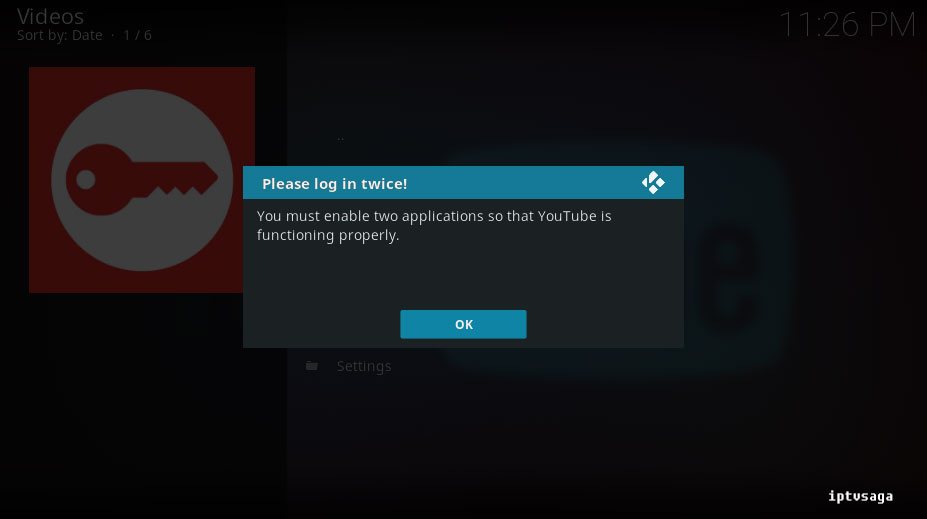
3. We should see the notification: Please log in twice!
You must enable two applications so that YouTube is functioning properly.
Select OK
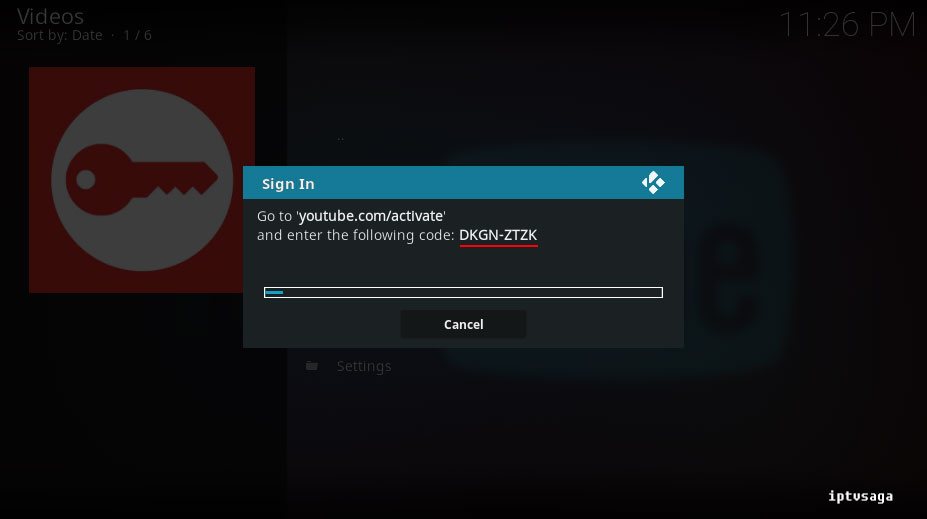
4. We should see the notification: Sign In
Go to ‘youtube.com/activate‘ and enter the following code:XXXX-XXXX
Go to youtube.com/activate copy-paste your code and complete the authorization process.
