Kodi: How to Play Videos From Hard Disk
 Kodi is generally used for watching online contents. In this tutorial, we’ll show you how to play videos on Kodi from your local or remote disk. This way you can play all your own media files on Kodi.
This tutorial created on windows system and Kodi 17 Krypton. It should work on similar systems. If you have any problem feel free to leave a comment. We’ll be glad to assist you.
You might be interested: Kodi: How to Play Music From Hard Disk
Kodi: How to Play Videos From Hard Disk
1. Open KODI
2. On Videos Menu > Files
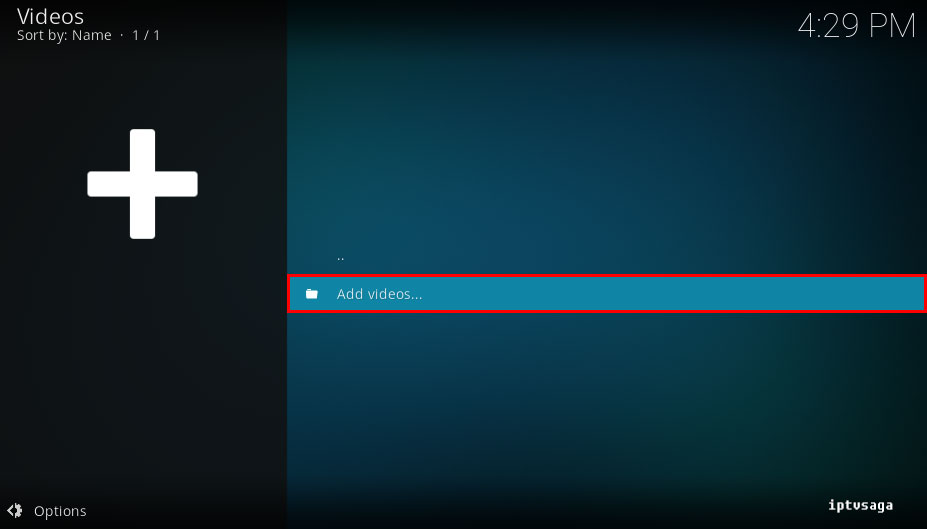
3. Add videos
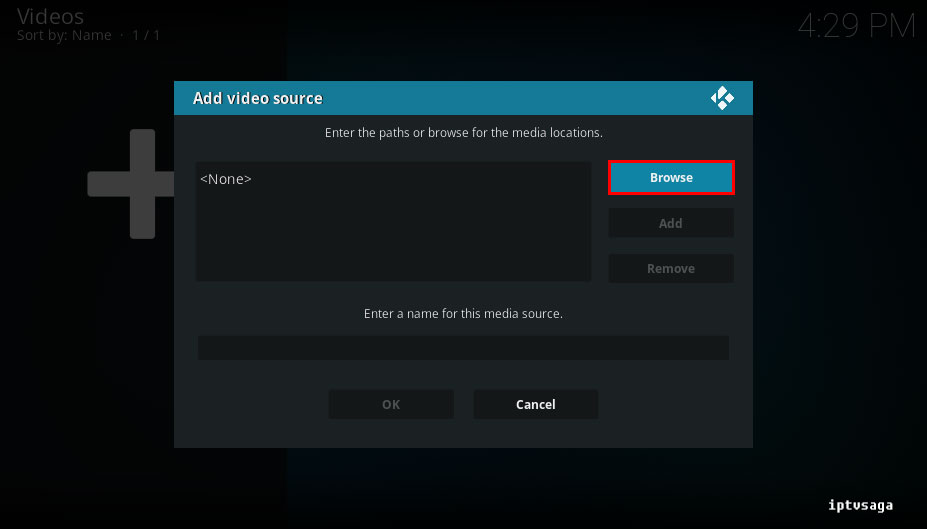
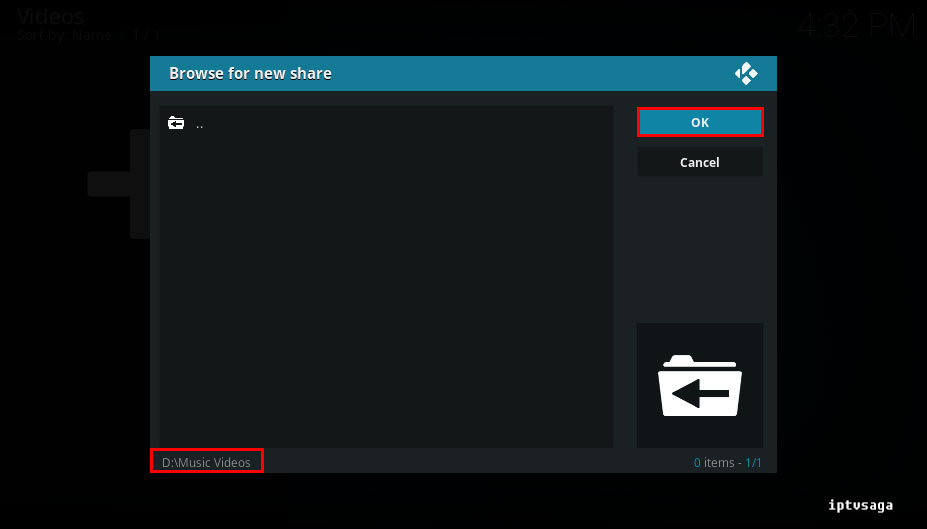
4. Browse
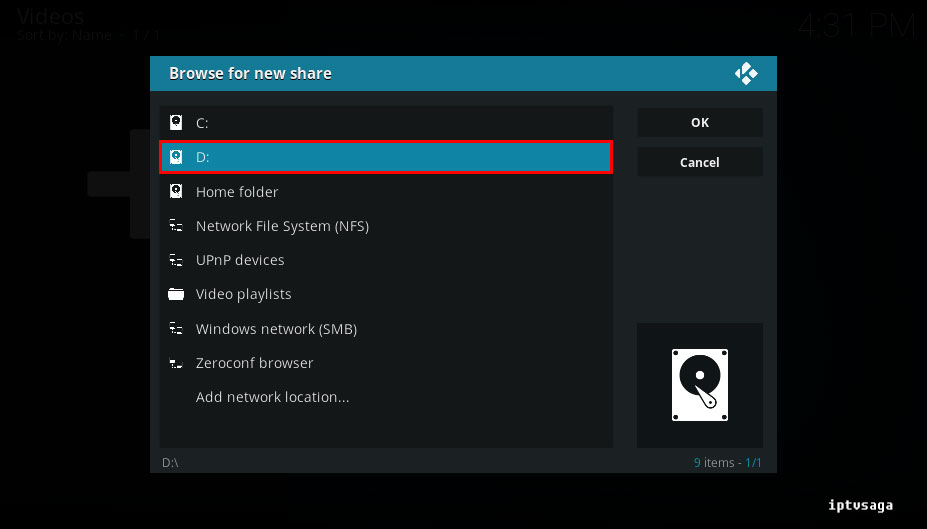
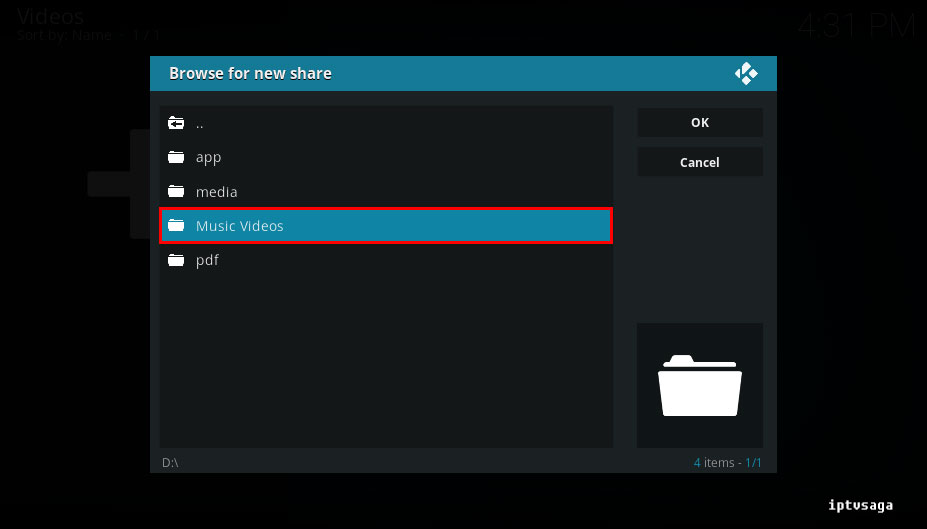
5. Select your video folder on disk
You can select local disk or external hard disk in list. In Add network location, you can choose your folder on your local network, http servers and ftp servers.
6. Select OK
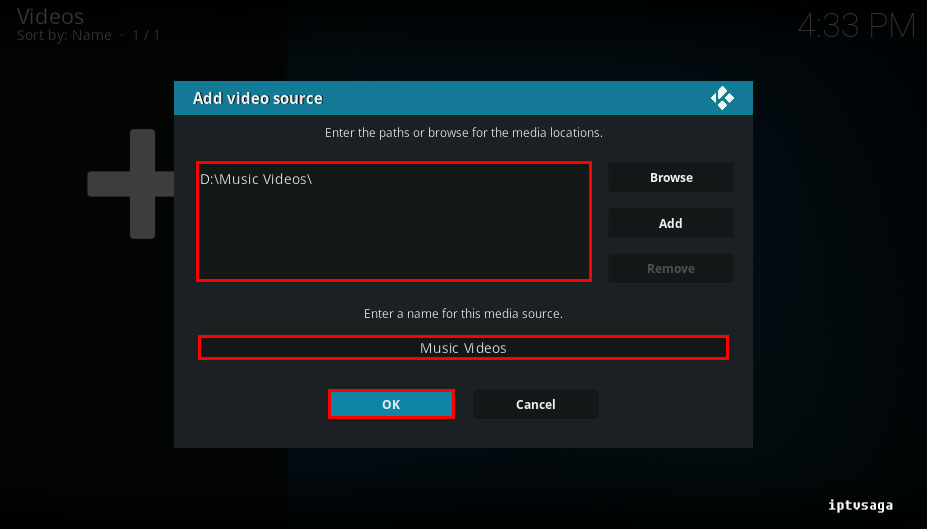
7. Select OK again.
It should be like picture below.
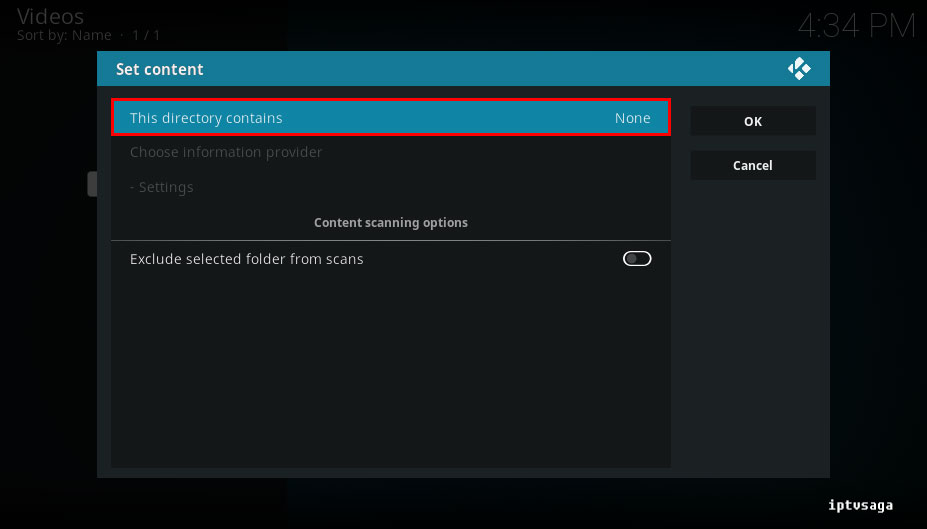
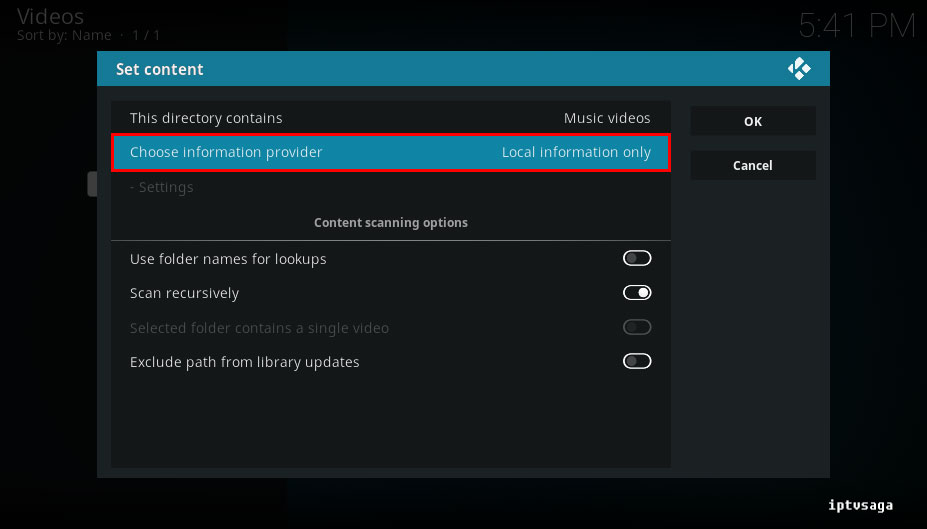
8. This directory contains (Optional Step)
If you don’t want to use scraper for update the media informations, continue step 13.
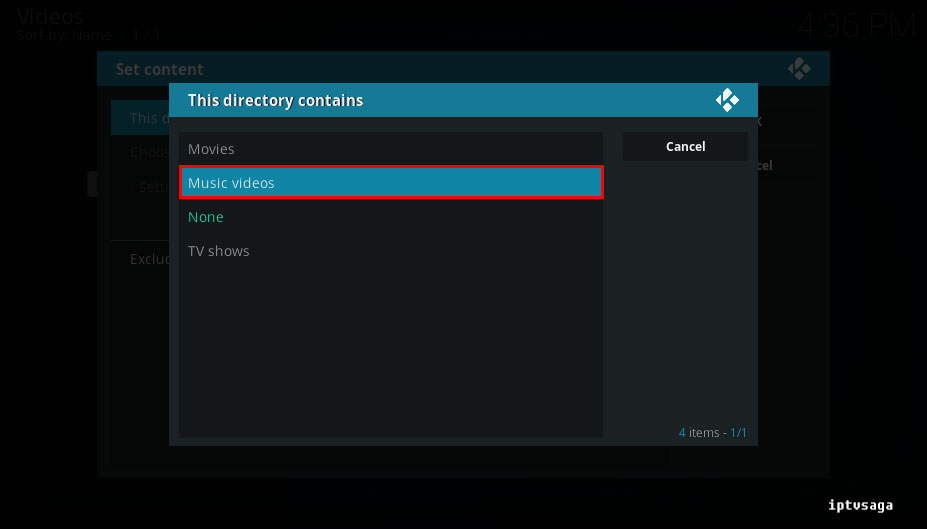
9. Music videos (Optional Step)
We choose this option because we have added music videos. Choose according to media type.
10. Choose information provider (Optional Step)
In this step, we select the scraper for media informations. Also it grabs album images automatically.
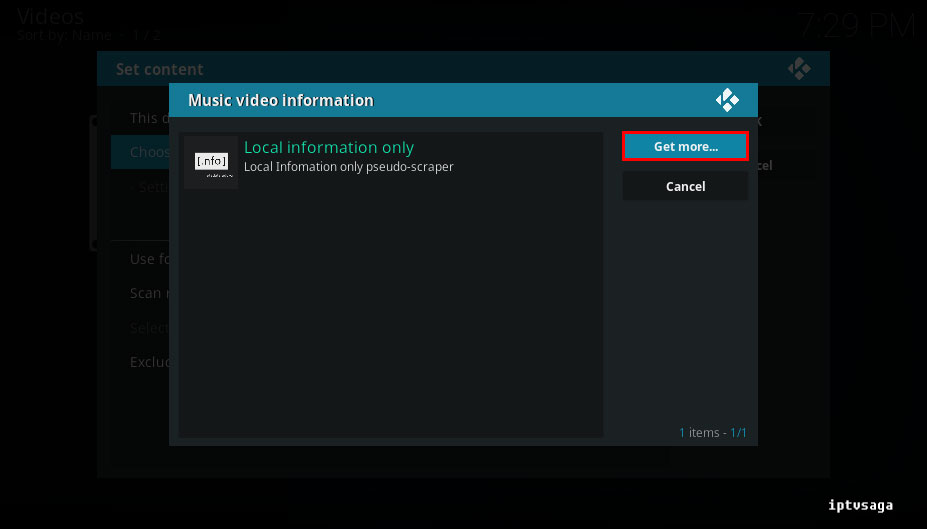
11. Get more (Optional Step)
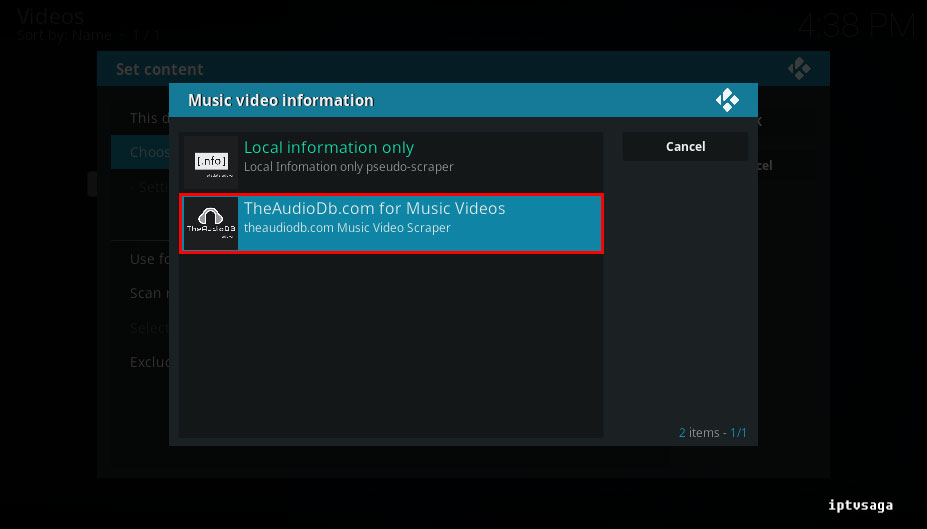
12. Select TheAudioDb.com for Music Videos (Optional Step)
TheAudioDb.com add-on will be installed. If you are adding movies, select The Movie Database scraper. You don’t need to use any scraper for your personal video and music records.
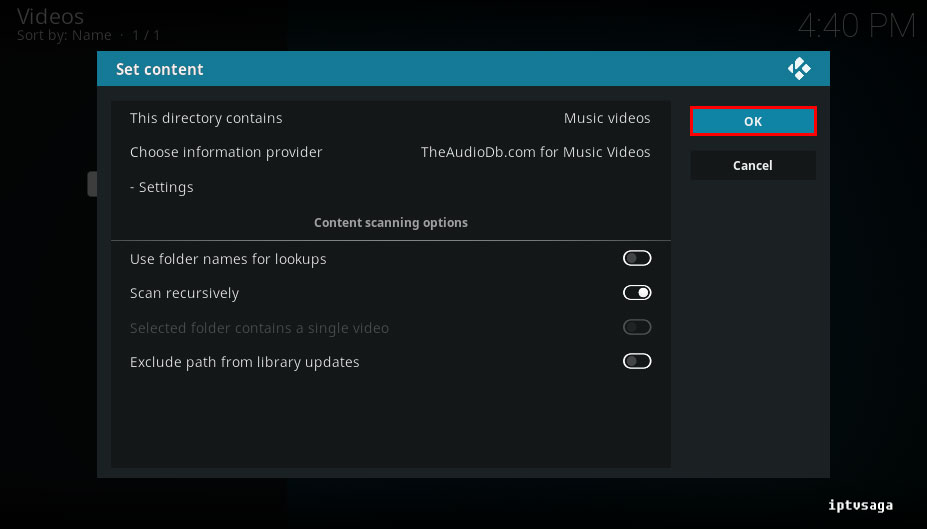
13. Select OK
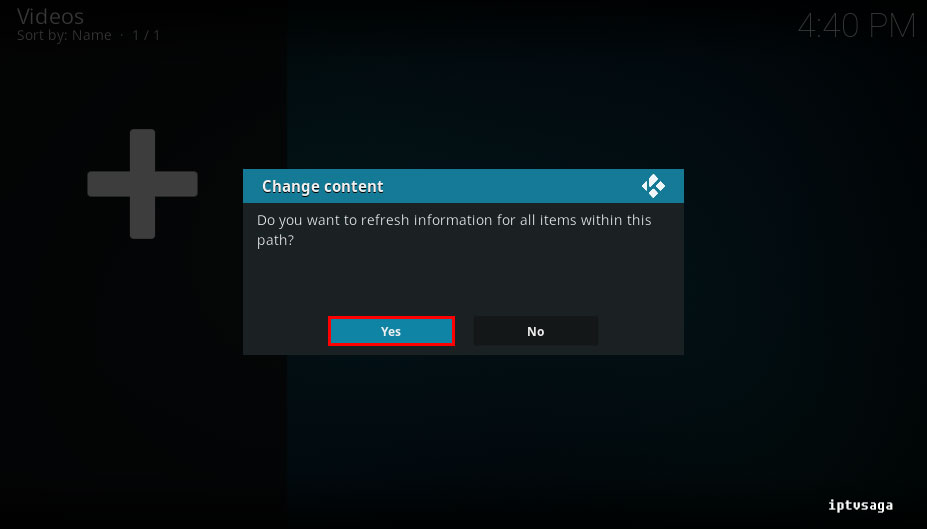
14. We should see the notification:
Do you want to refresh information for all items within this path?
Select Yes
If you will already choose No, you can pass the optional steps above.
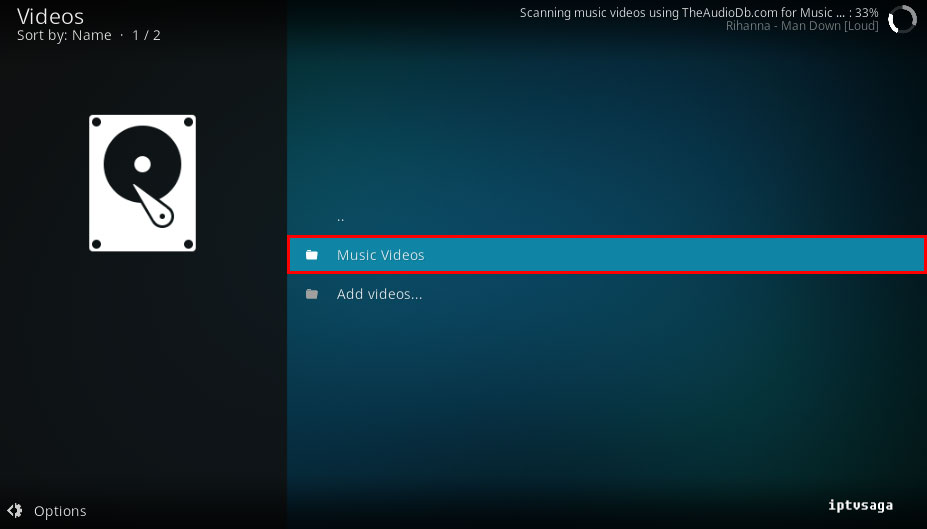
15. Music videos
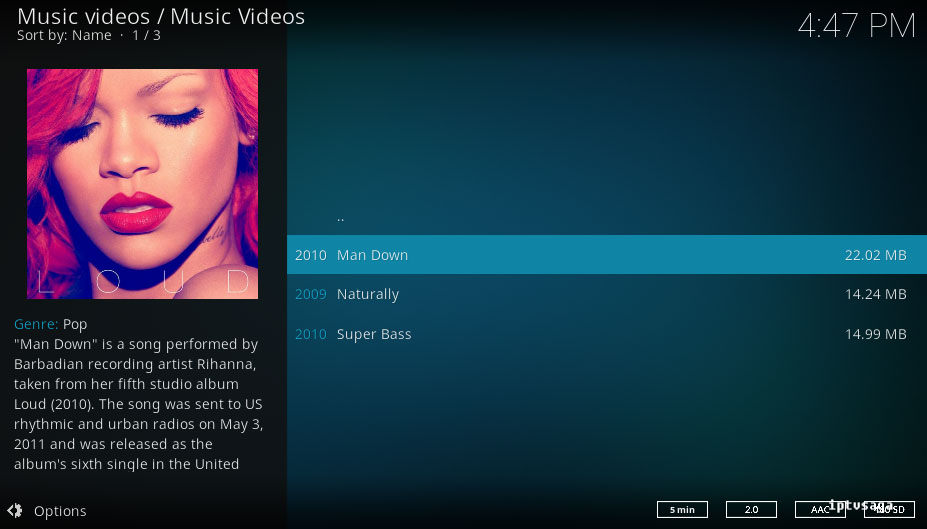
16. You should see the video list
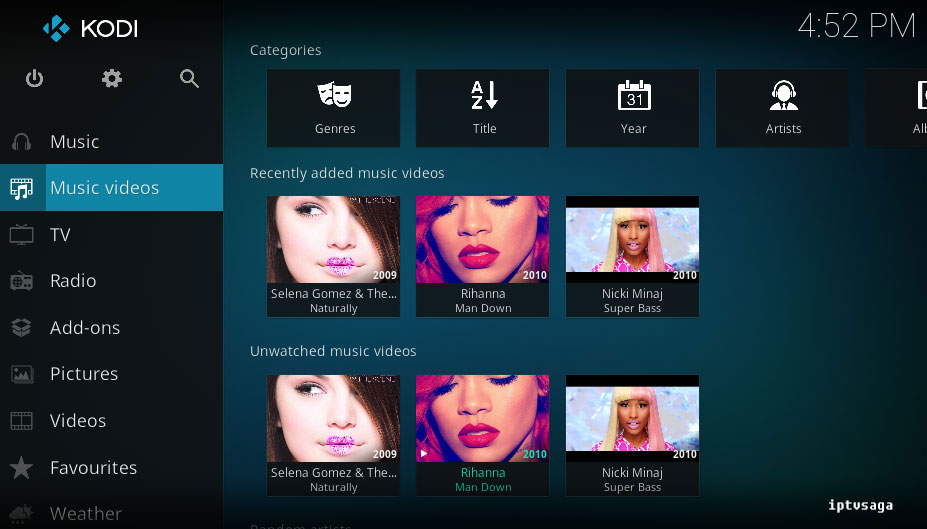
17. Music Videos Menu
Ready! You can play all your media files on Kodi.

